Steps To Disable Metro UI in Windows 8
1. First, press the Start + R buttons, to open the Run menu.
2. In the Run window, type “regedit” and hit Enter.
3. Now scroll on the top of the list and double click on “HKEY_LOCAL_MACHINE”. This will expand the folder.
4. Do the same for “SOFTWARE “.
5. In the list, search for “Microsoft” and open it.
6. Now using the same procedure, navigate to Windows->CurrentVersion->Explorer and some registry entries will appear in the right side of the screen.
7. Click on the one called “RPenabled” and change its value from “1″ to “0″.
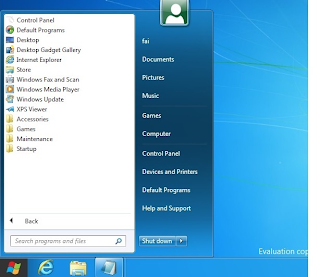
This will cause the metro UI to be replaced with a familiar looking Windows 7 start menu. To revert this all you need to do it to change the value of RPenabled back to 1.
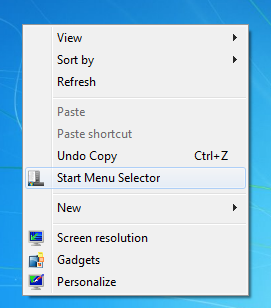
If this seems too hard one can always download a program called start menu selector available from DeviantArt that is a portable utility to switch between these two menus with the click of a button. This software basically just does the same steps detailed above.
Simply download the program from the website, extracts the folders contents and click the executable. This also adds a quicker option for switching between menus when you right click anywhere on the desktop. To ensure that it gets the job done make sure that you use it with admin privelages.